EA25 查看數據表(PDF) - Extech Instruments Corporation.
零件编号
产品描述 (功能)
生产厂家
EA25 Datasheet PDF : 6 Pages
| |||
Manual Datalogging
Clearing Previously Stored Data
1. Press the “ ” button to turn the meter off.
2. Press and hold the "MEM" button, then press the “ ” button to turn the meter on.
When the LCD indicates "CLr", the entire memory has been erased.
Manual Datalogging
1. Press the "MEM" button to store a reading manually. The LCD will display the "M" icon
and the address number. The total memory size for manual recording is 99 sets.
2. When the datalogger memory is full, the LCD will display "Full".
Recalling manually stored data
1. Press the "READ" button to view stored data. The LCD will show the "R" (recall) icon
and the current address number.
2. Use the " " or " " button to select another memory address to view.
3. Press the DEW or WET button to display the Dew Point or the Wet Bulb value.
4. Press " ↵ " (enter) to exit this mode.
Automatic Datalogging
NOTE: Before datalogging ensure that previous data has been downloaded otherwise it
will be lost. Up to 15,000 sets of data can be recorded in automatic datalogging mode.
The following settings must be configured before datalogging:
• Real-Time Clock: Set to the current time in hours, minutes, and seconds
• Start Time:
Set the time that datalogging will automatically begin
• Stop Time:
Set the time that datalogging will automatically stop
• Interval Time:
Set the sampling rate (time between logged readings)
•
Real-Time Clock Setting
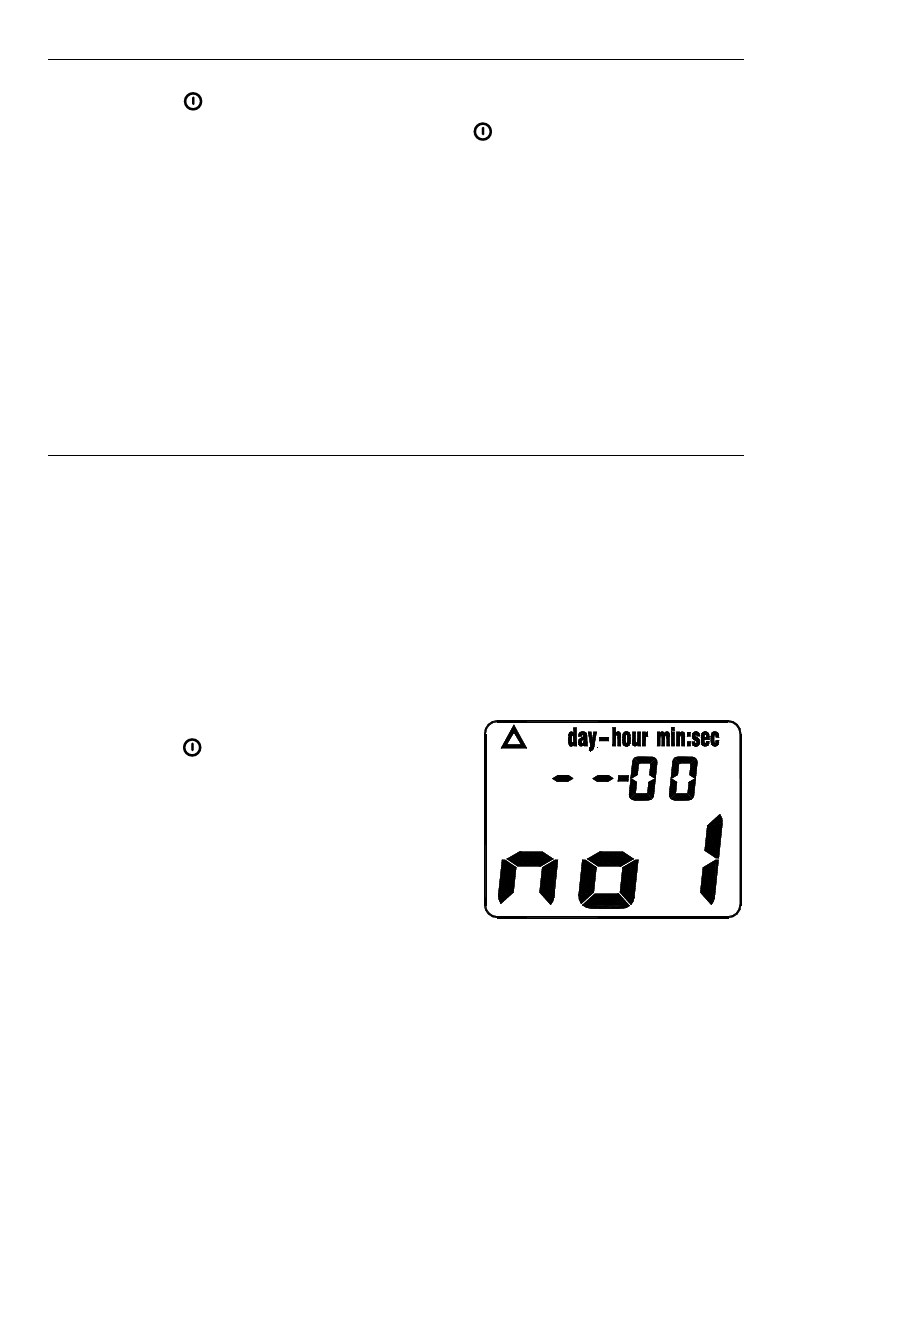
1. Press the button to power the meter.
2. Press and hold the SET button until two beeps
sound (screen shown at right appears). Note
that if the "Ì" logging icon is already on the
LCD before pressing the SET button, the meter
is already datalogging and cannot be
programmed. To stop logging press " ↵ " (enter
button).
3. Press " " or " " to set the current hour.
4. Press "" to move to the two flashing digits representing minutes.
5. Press " " or " " to set the current minutes.
6. Press "" to move to the two flashing digits representing seconds.
7. Press " " or " " to set the current seconds.
8. Press " ↵ " (enter) to store the time and move to the next screen.
4
EA25 V2.1 02/06
Share Link: 